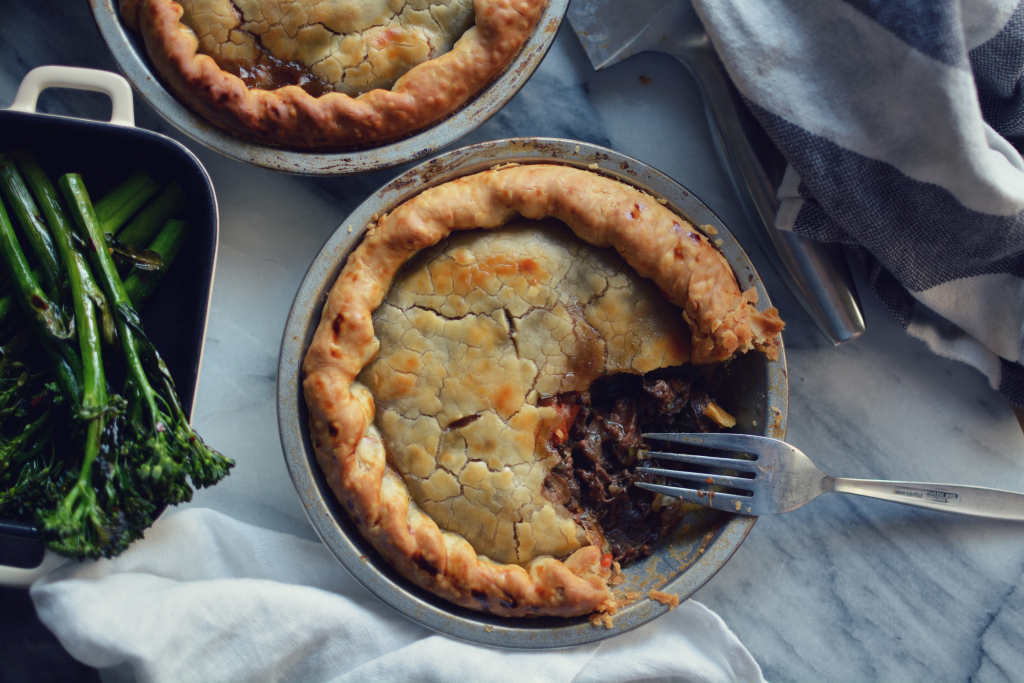
Braised Beef Cheek Pie
The first time I went to Chi Spacca, I fell in love with the intimate Italian-inspired meat house, a gem of an addition to the Mozza restaurant complex on Melrose. It’s a place that overwhelms all of your senses from the moment you walk in.
Flames curling up on the open grill, sitting formidably behind a glowing white marble kitchen bar that spans the length of the restaurant. The sizzle and intoxicating aroma of aged steaks hitting the smoking hot grill. A glass window showcasing house-cured salumis, dripping from butcher’s twine.
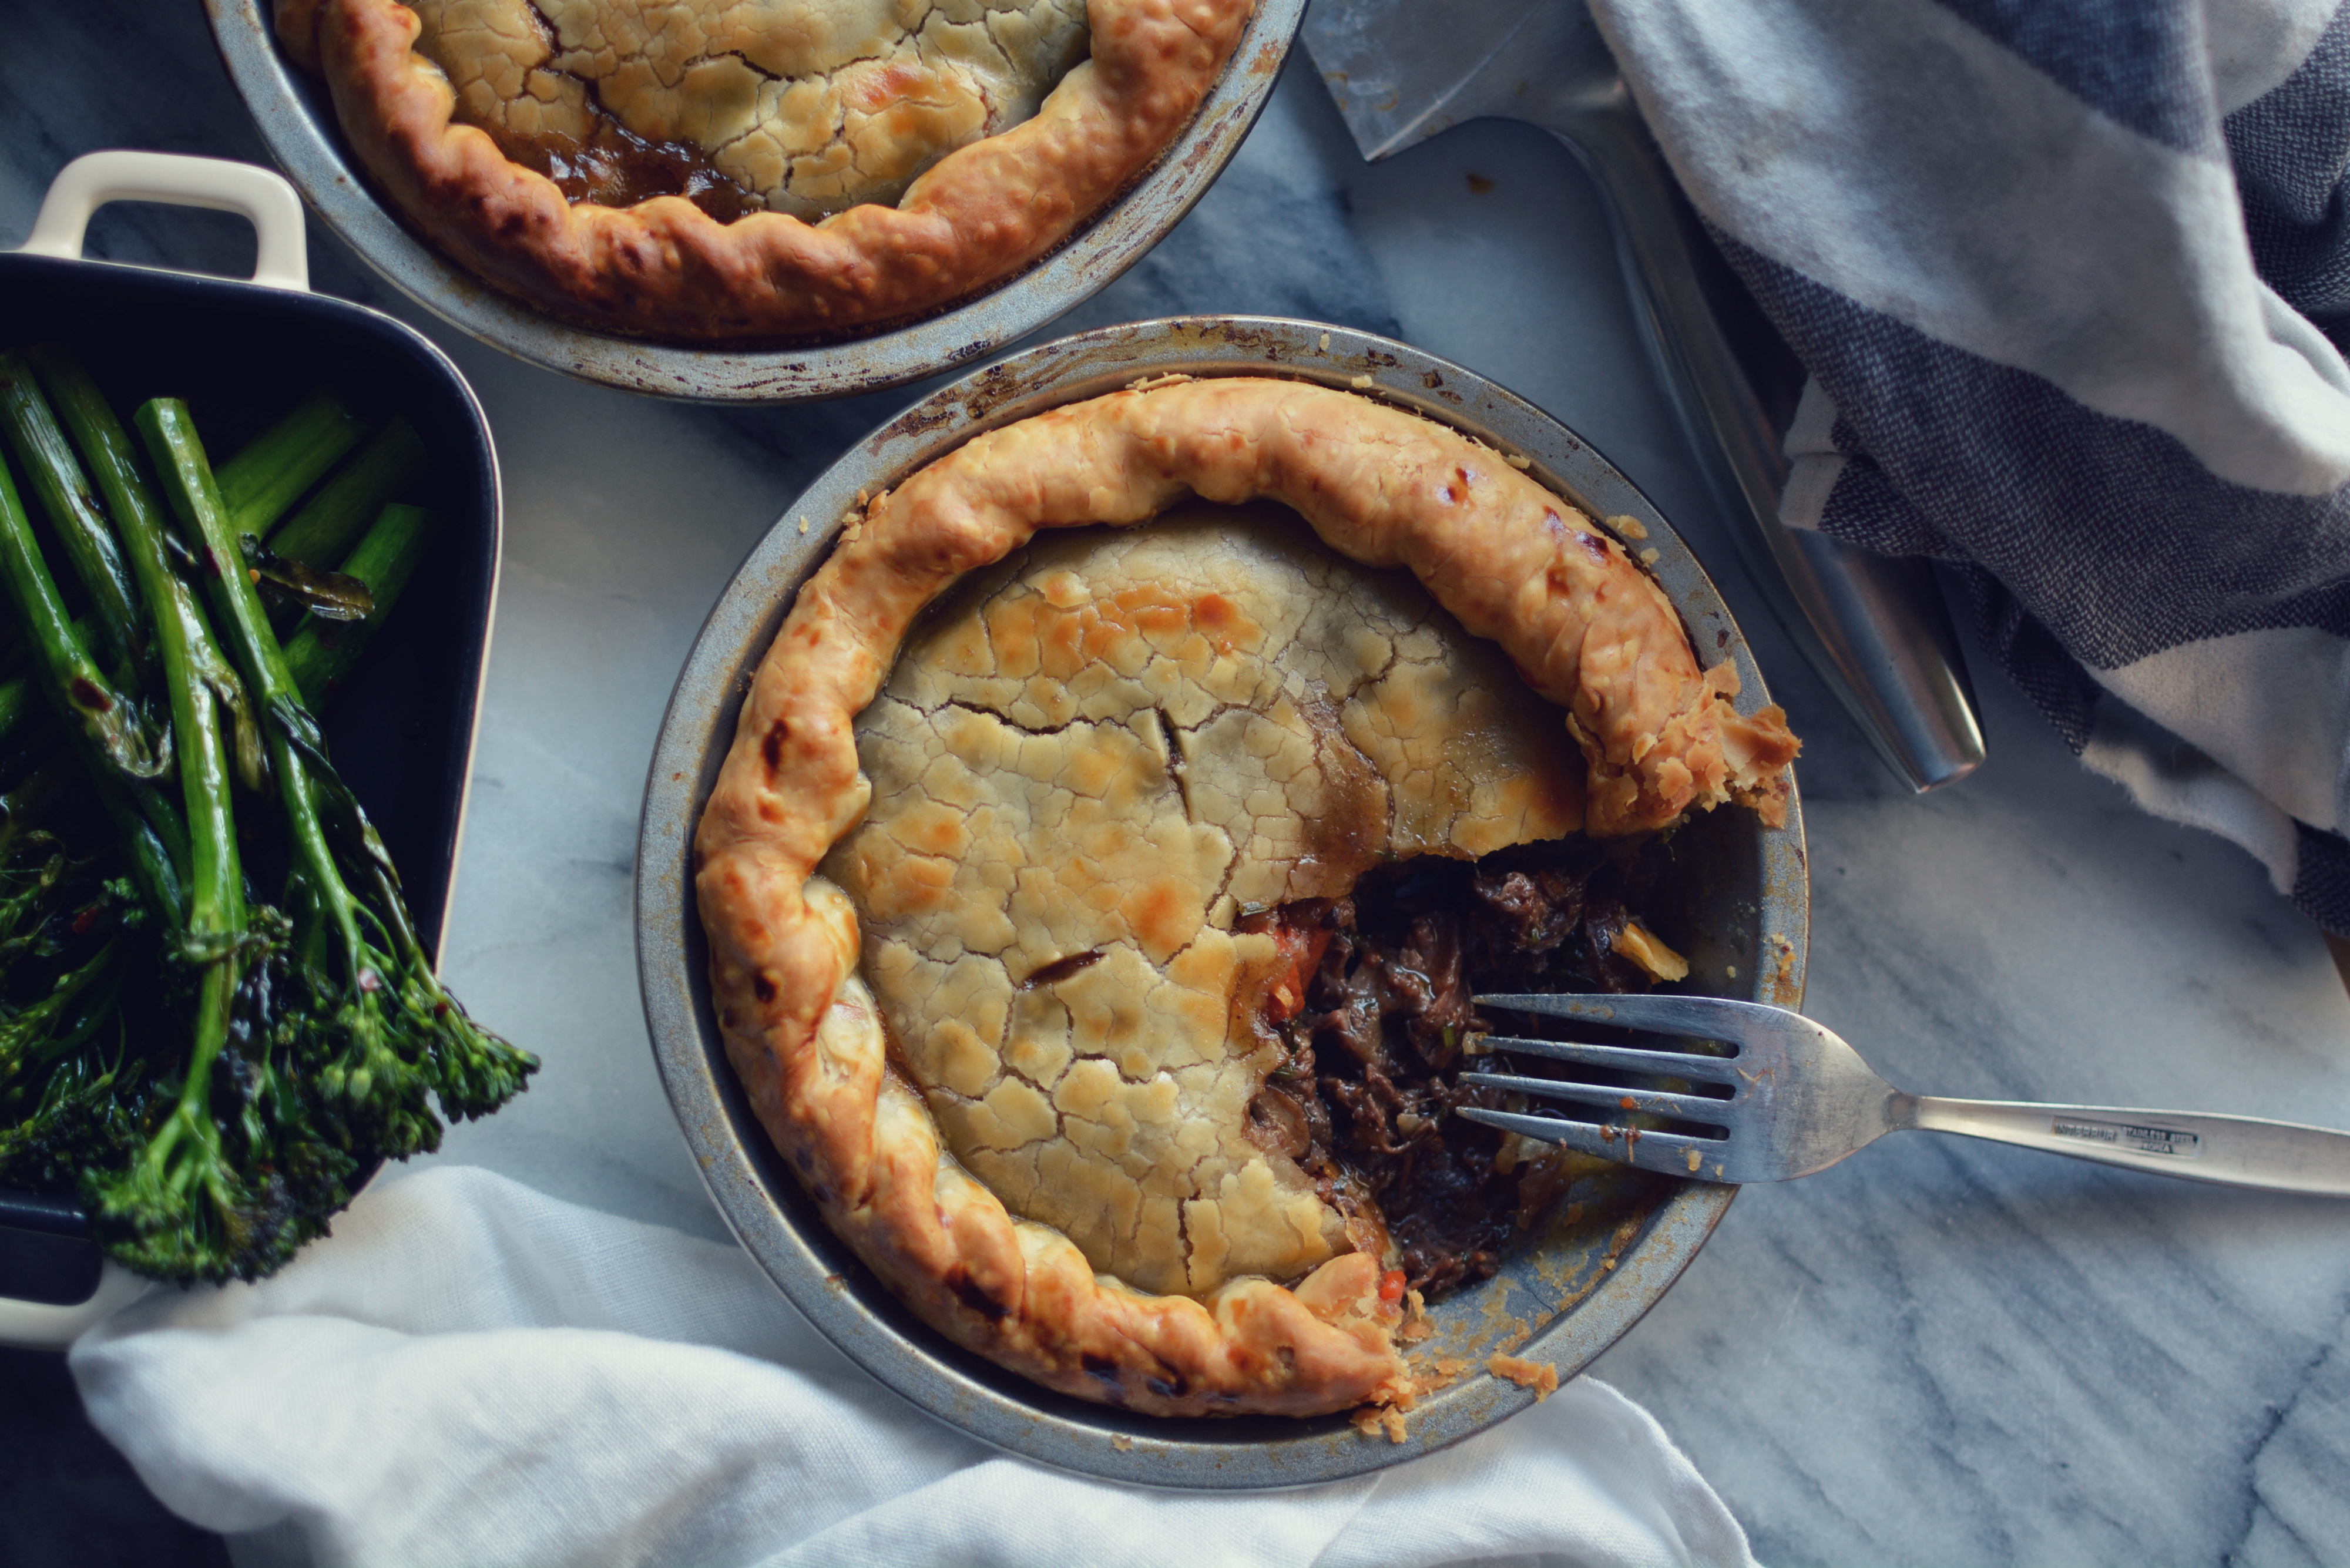
This place does all things buttery, meaty, and salty, and boooyyy, does it do it well. I have so many favorites here, but the dish that I’ll never forget is the Beef Cheek and Bone Marrow pie. Thick, flaky, golden, buttery crust with a piece of bone marrow jutting smugly through the middle. Rich, indulgent braised beef cheek oozing of sticky collagen and reduced red wine.
This recipe is our take on Chi Spacca’s braised beef cheek pie. It takes a few hours to prepare, but is SO worth it! Beef cheek is a fantastic cut of meat to braise, and is actually quite economical, but requires a bit of muscle to clean. Call ahead to your butcher to order. Beef cheek pie is a perfect dinner party dish to make ahead, and draws oohs and ahhhs from our guests every time. We like to serve this with a simple green dish, like charred broccolini or a Frisée salad.
Just a warning, if you serve this to a Brit, an Aussie, or any other pie loving national, they might never leave your place, so only cook this for someone you are certain you want to be friends with for the rest of your life.
Servings: 6-8 | Cook & prep time: 5 hours (includes 3 hours braising time)
Ingredients
- 2 beef cheeks
- 1 large onion
- 4 carrots
- 2 celery stalks
- 1 8oz package of brown button mushrooms
- 2 sprigs of thyme
- 2 bay leaves
- 2 garlic cloves
- ½ bottle of hearty red wine
- 2 cups of beef broth
- 1 package of refrigerated pie crust, or 2 packages for 2 smaller pies
- 1 egg
- Salt & pepper
- Canola or vegetable oil
- 2 tbsp softened butter
- 2 tbsp flour
Directions
Prep:
Preheat oven to 375°F.
Trim beef cheeks by removing most of the silverskin and trimming off large chunks of fat. Cut the cheeks into 1-2 inch pieces. It doesn’t have to be perfect. The tough grisly pieces will melt away when braising, adding a thick richness to the sauce. Season beef cheek with salt and pepper.
Dice onions. Cut celery and two of the carrots into 4 inch pieces. Peel and slice the other 2 carrots into bite sized coins. Quarter the mushrooms.
Sear:
Heat a dutch oven over medium heat for a few minutes. Drizzle canola or vegetable oil in the pot (we’re not using olive oil because we’re searing the meat, and canola or vegetable oils have higher smoking points than olive oil). When the oil is shimmering, add a few pieces of beef cheek to the pan, making sure not to crowd the meat so that it can sear. Sear for minute or so, until well browned, and flip. Sear for another minute or two, and remove to a plate. Repeat for all of the beef, adding more oil as needed.
Braise:
Add onions to the dutch oven, and cook until translucent. Return beef to the pot, and add the large chunks of carrot and celery, thyme, garlic, and bay leaves. Add red wine to deglaze the pan, then add the beef stock. Add more beef stock if needed to just submerge all the meat and vegetables. Bring to a boil.
Place the lid on the dutch oven, and braise in the oven for about 2.5 hours. After 2.5 hours, take the dutch oven out, and remove the large pieces of carrot and celery, thyme and bay leaves, and discard (ok, I actually eat the carrots…). At this time, add the reserved carrot slices and the mushrooms to the pot, stirring to get the vegetables in the liquid. Replace the lid and braise for another 30 minutes. The meat is done once it’s very tender and falls apart easily with a fork.
Reduce:
Remove dutch oven and place it on the stovetop. At this point, you need to thicken the liquid, since the pie filling has to be much thicker than a typical braise. Simmer the dish on the stovetop with the lid open, until liquid has reduced by half an inch or so. Mix the butter and flour into a paste, and add a tablespoon to the liquid, mixing well, and letting it simmer for a couple of minutes to thicken. The braising liquid should thickly coat the back of a spoon, to be pie-filling consistency. Add more butter & flour paste if necessary. Let filling cool, it’s easier to handle this way.
Bake the Pie:
Unroll the pie crust into a large pie tin (or 2 small pie tins). Scoop the filling generously into the pie crust. Top with the other pie crust, and seal the edges. Beat the egg, and brush the egg wash over the pie crust to get a golden, shiny finish when the pie bakes.
Follow the baking instructions on the pie crust package to finish the pie.
Enjoy!!
Written and photographed by Tracy Chow & Jennifer Yu
